Newsletter plugin for NimWC
This blogpost is about the new newsletter plugin for Nim Website Creator (NimWC). So before we dig into the details, I'll start with a brief introduction to NimWC. NimWC was developed as an alternative for Wordpress and similiar framework - I wanted a simple, fast and configurable framework, where I decided what to do!
NimWC is a new tool for generating websites on the fly. Install NimWC with Nim's package manager Nimble or compile yourself. Just run the file, and your website is up and running within seconds.
You can edit all the details from the browser, secure the installation with firejail and much more. Multiple plugins are available and can be installed with 1-click.
Plugins in NimWC
Plugins in NimWC is build independent from the NimWC core code, and they are placed within the plugins/ folder. There's a dedicated Github repo, where all the plugins are managed. In this repo there's also a small guide to develop new plugins. In the soon future, I'll write a detailed blogpost about the plugin development.
Newsletter plugin
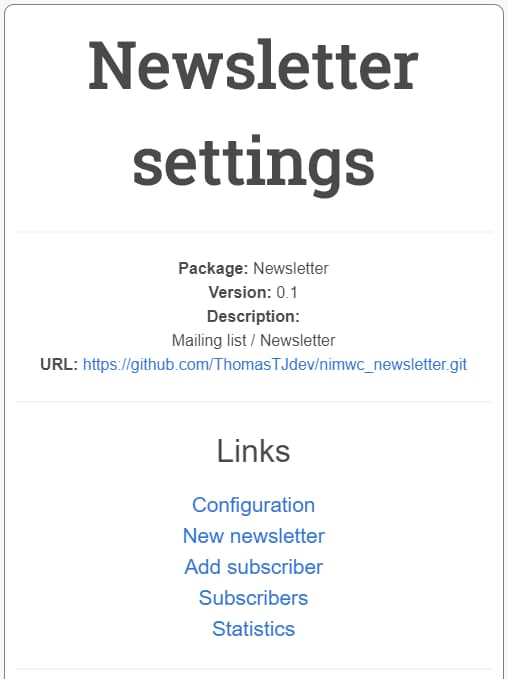
The newsletter plugin - or some would call it a mailing list - is a simple database table saving a users email and name. When you are writing a new newsletter, it just sends the mail to all these people.
The plugins gives you access to:
- Configuration
- Writing newsletter
- Adding subscribers
- Viewing all subscribers
- Accessing your old newsletters
Install newsletter plugin
You can install the newsletter in 2 ways: using the builtin plugin handler (browser based) or cloning the repo and recompiling.
Install through the browser by visiting /plugins/repo, updating the plugin list and installing.
Navigating to the folder path nim_websitecreator/plugins, running git clone https://github.com/ThomasTJdev/nimwc_newsletter.git and recompiling. You can force NimWC to recompile, if you delete the sub-runner: rm nim_websitecreator/nimwcpkg/nimwc_main.
Configuration
After installating it is advised to edit the config. Go to the plugins config page at /newsletter/config. You can edit the text, but make sure to include the $ at the right places. These $ helps to make the emails personliazed by using the users name, email and inserting unsubscribing links.
Sign up
Of course you need some subscribers - you can send them a link to /newsletter/signup or include the code-snippet from Newsletter config page into you own pages.
Code snippet
Voila - newsletter time
You are now ready to send a newsletter. It is advised, that you use the test-newsletter to ensure, that your configuration of the header and footer are working correctly.
After sending the newsletter, it'll be available in the saved newsletters.